
How to Set Up the Toilet for Hip Surgery Recovery
Foreword: This blog post was written by Madison Weinman while completing her capstone project as part of her occupational therapy doctorate program at the University of Kansas Medical Center. (Watch out! She’s about to take over the world!)
Hello! If you’re here, you or a loved one might be preparing for a hip replacement surgery. Something you may not have considered is that in addition to preparing yourself for the surgery, you also need to prepare your toilet.
Most toilets are not set up for people to recover from hip surgery safely or comfortably, and I can say with absolute confidence that nobody wants a toilet that’s a pain in the butt! Stick around to learn how to set up you and your toilet for a successful recovery.
In this post we are going to discuss:
Continue reading the blog post below or watch this video. Let’s get started!
Hip precautions after hip surgery
Hip precautions are the movement restrictions, aka the “do nots,” that you must follow after your surgery. The surgical approach that generally has the strictest precautions is the posterior approach. This is when the surgeon makes the incision from behind the hip, near the buttock. When your surgeon gives you posterior hip precautions, this is what they mean:
Do not bend the surgical hip past 90 degrees (when sitting AND standing)
Do not cross your legs
Do not rotate your surgical leg inwards (i.e., no pointing your toes in)
Posterior hip precautions are heavily emphasized because they prohibit movements that people often do in their everyday lives. People must make a conscious effort to change how they do many of their daily tasks, including using the bathroom! Some doctors may prescribe hip precautions for as long as 12 weeks, so you want to make sure you set yourself up for ease and comfort.
Please note that your surgeon may use another surgical approach and/or have differing precautions for you to follow. Always consult with your medical provider for specific medical advice.
Is My Toilet Tall Enough for Hip Surgery Recovery?
Chances are that your current toilet just won’t cut it for your hip surgery recovery. You may ask, “why is that?” This is because most homes have a standard height toilet of 14 to 15 inches. For some people who are shorter, this may be a sufficient height. For most people, however, that is not tall enough to prevent bending the hip past 90 degrees when sitting on the toilet.
Using a too-short toilet means breaking your precautions and putting your hip at risk! No, thank you! I’d rather make sure your toilet is set up at the right height for you to recover safely.
If you want help setting up your toilet for hip surgery recovery, I recommend working with a local occupational therapist (OT)! OTs have all the skills and knowledge to find the perfect bathroom set up for you. To work with an OT, you will first need to get a referral from your primary care provider.
How to Find the Right Toilet Height for Hip Surgery Recovery
When you’re sitting on the toilet after hip surgery, we want you to look like the picture below so that your hip can heal correctly.
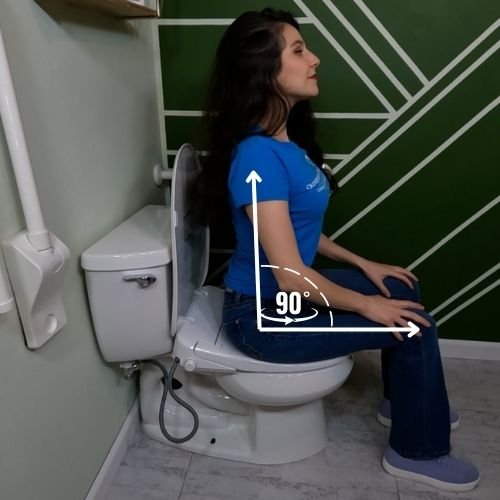
Another day in the life of Maria sitting on the toilet.
In the picture, you’ll note that Maria’s hips are bent no more than 90 degrees and she’s sitting up nice and tall to maintain her posture. Her feet are flat on the floor for good sitting balance and to get on and off of the toilet safely.
If Maria leaned her torso forward, it would make her hip bend past 90 degrees (we don’t want that to happen!).
The easiest way to find the right toilet height for you is to measure the distance from the floor to the back of your knee. This will correspond to your ideal toilet height, which is the distance from the floor to the sitting surface of the toilet seat.

When measuring the floor to the back of my own knee, I found it to be 19 inches. So, my toilet would need to measure 19 inches from the floor to the toilet seat in order to keep my hips from bending past 90 degrees.

The floor to the top of the toilet seat is 19” tall to keep my hips in a 90 degree angle.
How do you make your toilet seat height taller? Let’s look at some products to bring your toilet to the next level – literally!
Products To Make Your Toilet Taller after hip surgery
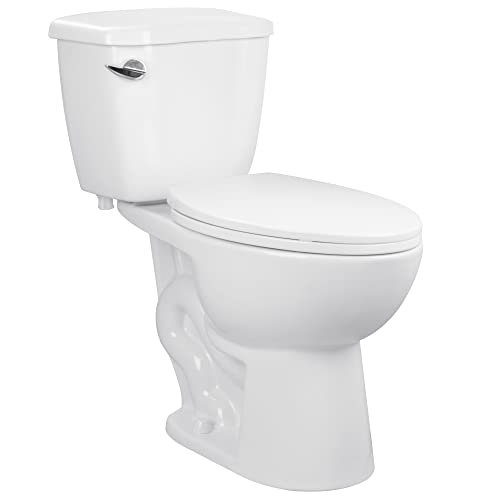
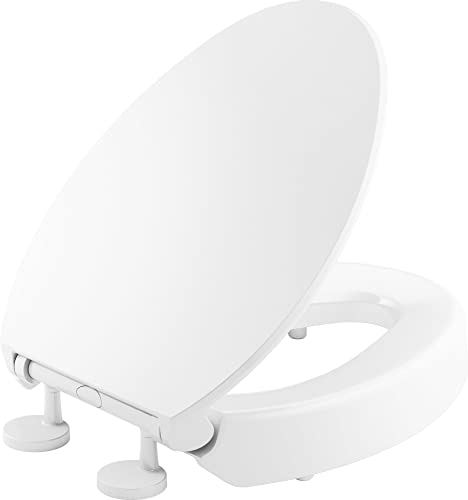
Comfort Height Toilets
First on our list are comfort height or chair height toilets, which are typically 17 to 19 inches tall. These are our favorite because they look the best in your bathroom.
While this is the most expensive option on the list, I am begging you to treat yo’ self to the toilet that will be comfy, clean, and classy for the long-haul! It’s important to invest in high quality products that you will be using multiple times a day.

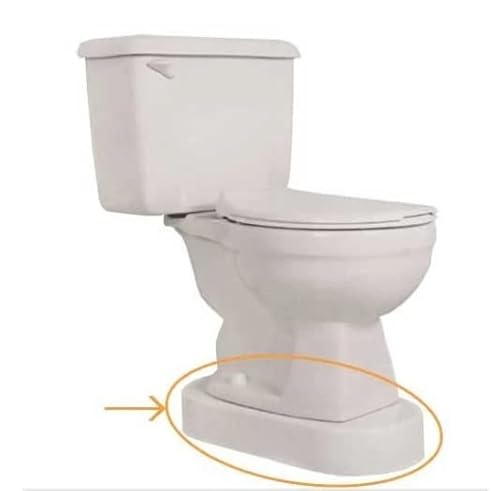
Toilevators
Next on our list is a Toilevator, which is a platform that can be installed under your existing toilet to give you an additional 3.5 inches to the overall height. Toilevators are less expensive than replacing your entire toilet, and are still subtle enough that they generally aren’t noticed by others using your bathroom. These can even be installed under a comfort height toilet for especially tall people, allowing for a possible height of 22.5 inches!
Toilet Seat Risers
Toilet seat risers can be great for when you need a solution fast and on the cheap. Anyone can install them with minimal time and experience, and they can be effective pieces of equipment. Their biggest tradeoffs, however, are often stability and cleanliness. Let’s dive into some of the different types below.
1) Raised Toilet Seat Risers
Since these toilet seat risers are simply set into the toilet bowl with nothing to secure them, I would only recommend these for travel or temporary use. The quick and easy placement and removal is great for on-the-go, but I want to stress the importance of sitting squarely onto the seat riser to prevent any tips or falls.

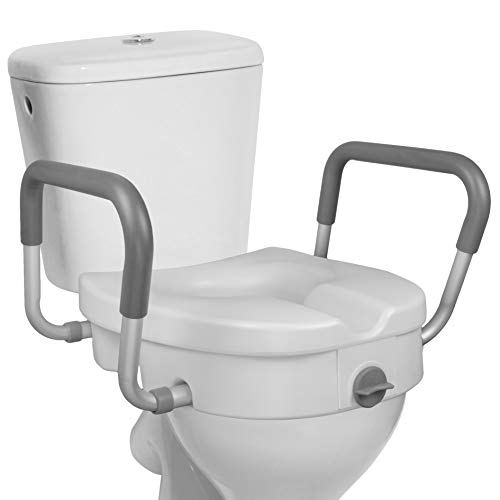
2) Clamp-on Toilet Seat Risers
Clamp-on toilet seat risers are a step-up in stability from raised toilet seat risers. Though the clamp does increase stability, there are instances where they could tip if installed incorrectly or if they experience great amounts of unequal weight distribution.
So, still take care when getting on and off this kind of riser!
These risers often come with removable safety rails to aid in the sitting-down or standing-up process. Again, try to put weight through both safety rails equally to prevent any tipping. We recommend that a loved one checks the stability of the riser on a regular basis to ensure safety.
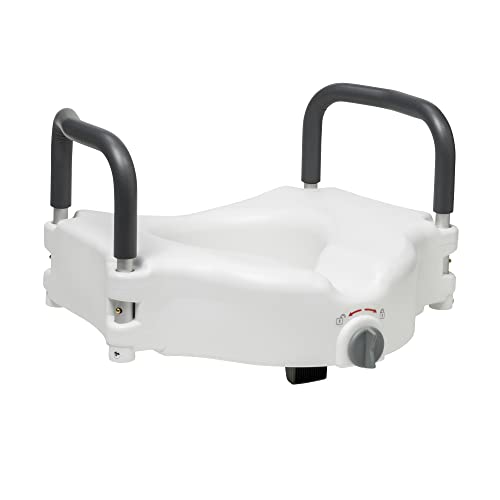
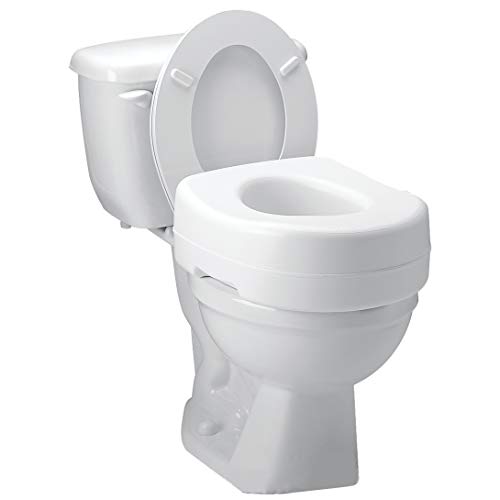
3) Bolt-on Toilet Seat Risers
Bolt-on toilet seat risers are the most stable of the toilet seat riser variety, therefore lowering the risk of toppling off the toilet if you sit down unevenly!
Even within the category of bolt-on toilet seat risers, you can find several varieties with different features. Additional features may include a hinge seat allowing for easier cleaning, safety rails, or both. Another nice thing about bolt-on risers is that you are still able to use your existing toilet seat and lid, which you might find more comfortable.
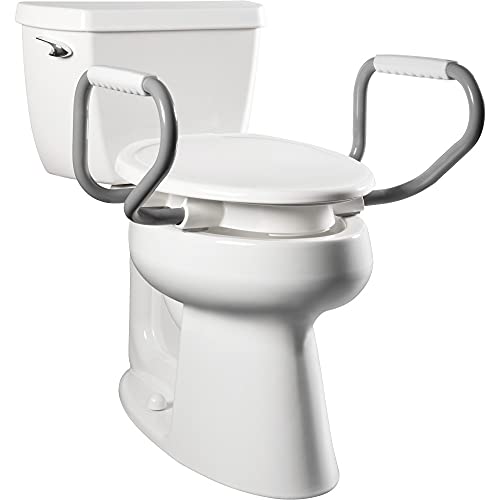
How Grab Bars Can Help During Your Hip Surgery Recovery
Plopping down onto the toilet isn’t safe or comfortable, especially when you’re recovering from a surgery!
Much like the safety rails on a toilet seat riser, you can use a grab bar to slowly lower onto and stand up from the toilet. A grab bar next to your toilet can also serve as a secure handhold while you’re managing your clothing before and after using the toilet.
There are several varieties so you can find the best fit for you and your bathroom. Here are some of our favorites below.


How to Clean Your Bottom After Hip Replacement Surgery

Don’t lean forward while wiping! You’ll break your posterior hip precautions!
It is important to note that even with a just-right toilet height, you can still break your posterior hip precautions when cleaning your bottom! Leaning your torso forward while sitting means you are bending your hip past 90 degrees.
If you do this when cleaning your bottom, you will need to change how you clean your bottom when recovering from a hip replacement.
There are several solutions to this predicament, and it really comes down to personal preference. We will briefly introduce them below and then leave you to explore the additional links to your heart’s desire!
Bidet Seats
Bidet seats are an almost hands-free solution for when you need to clean your derrière. When using a bidet, you can sit tall while you control the stream of water from hand controls mounted to the side, or, our personal favorite, with the use of a remote.
Bidet seats can come with a wide range of features, such as heated seats, warm water, and built-in air dryers. They can even be compatible with toilet seat risers! Go here to read more about bidet seats.


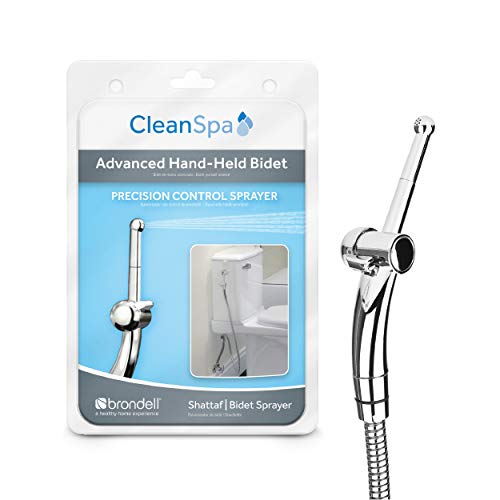
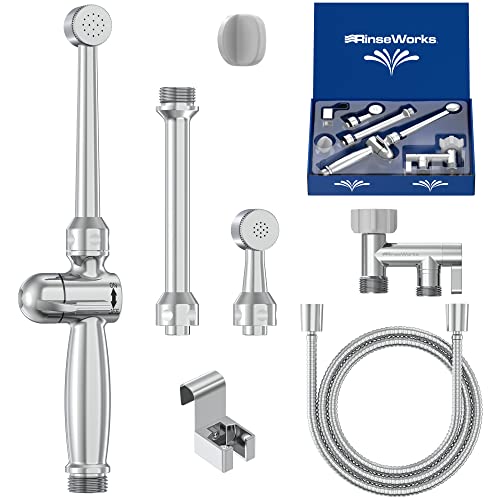
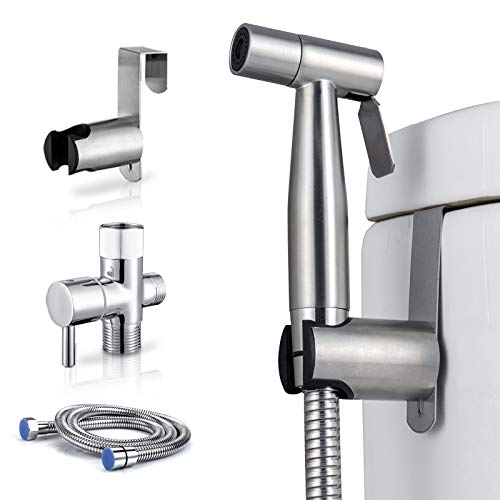
Handheld Bidets
Handheld bidets, like bidet seats, use a refreshing stream of water to clean your bottom after using the bathroom. The main difference is that you are actively directing the water with use of a hose that is connected to your toilet’s water line.
Personal Hygiene Wands
Personal hygiene wands act like an extension of your arm, increasing your reach when cleaning your bottom. They vary in length and curvature to best suit your needs.
Go here to watch a video at the 04:00 mark on how to use personal hygiene wands.
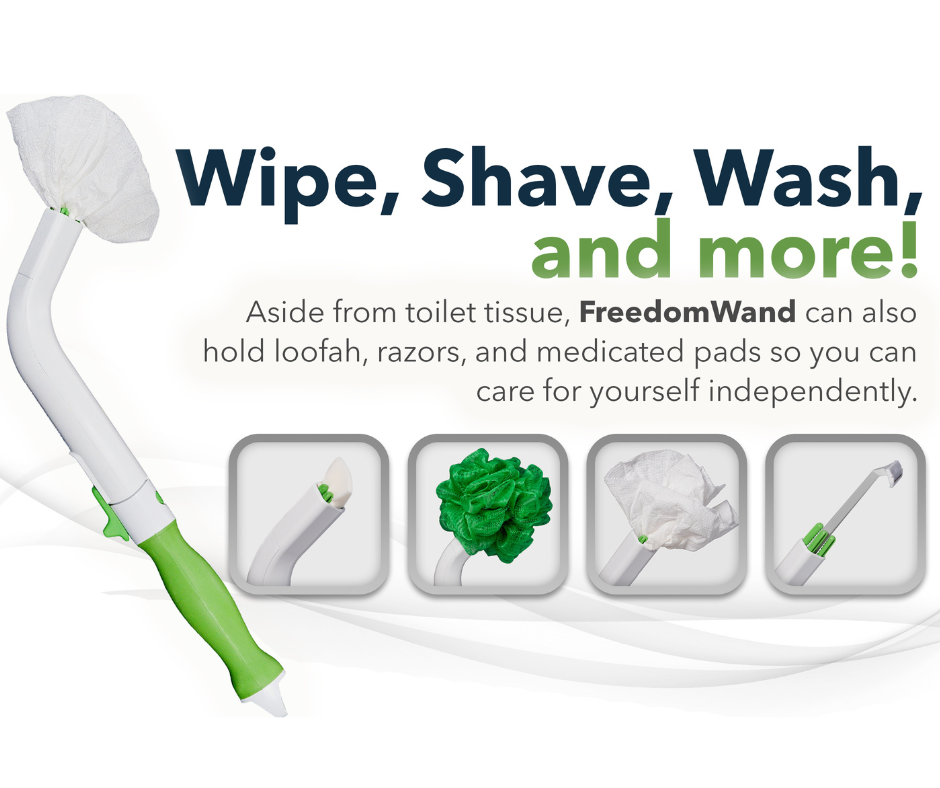
Freedom Wand

Did we answer all your questions about how to set up your toiletfor hip surgery?
I hope that you were able to find some useful tips to prepare your toilet for hip surgery recovery! If you have any questions, contact me here.
Which of these solutions are your favorites? Do you have any tips to share? Let us know in the comments below.
(Pssssttttt . . . did you know we have an awesome online course for people who have a hard time wiping after using the toilet? It’s an awkward topic that you can learn how to solve in the comfort and privacy of your own home! Learn more about the course HERE!)
